

How To Clean Paint Brushes Without Turpentine

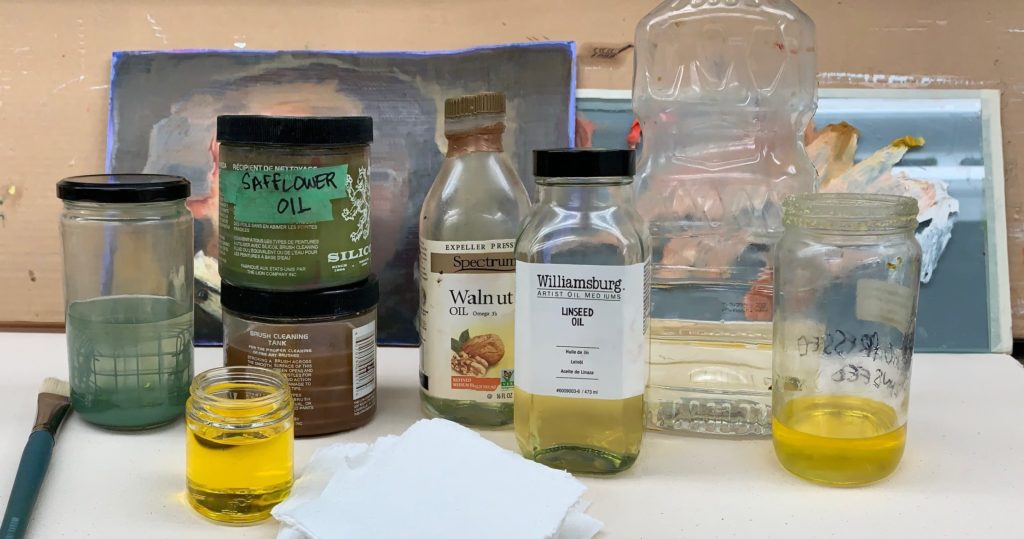
For oil painters who want to reduce the amount of solvent in their studio, we would like to share a solvent-free brush cleaning option that can be used during and after painting. All you need for this process are paper towels and a container with 2-3 inches of drying oil such as linseed, safflower, walnut or poppy oil. We are all familiar with using turpentine or mineral spirits for cleaning our oil laden tools. But, we often share with artists, that if you spill salad dressing on the counter, you don't reach for the turps to clean it up, you typically reach for a paper towel or rag – which is the first step in this process.
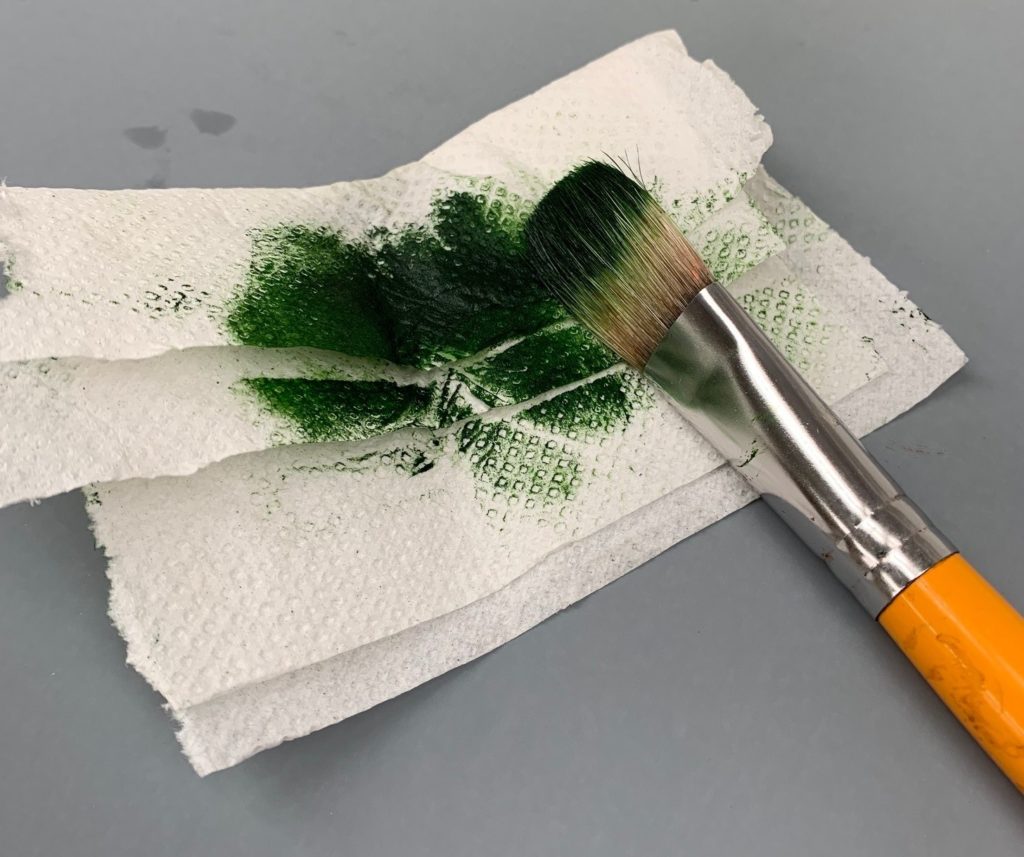
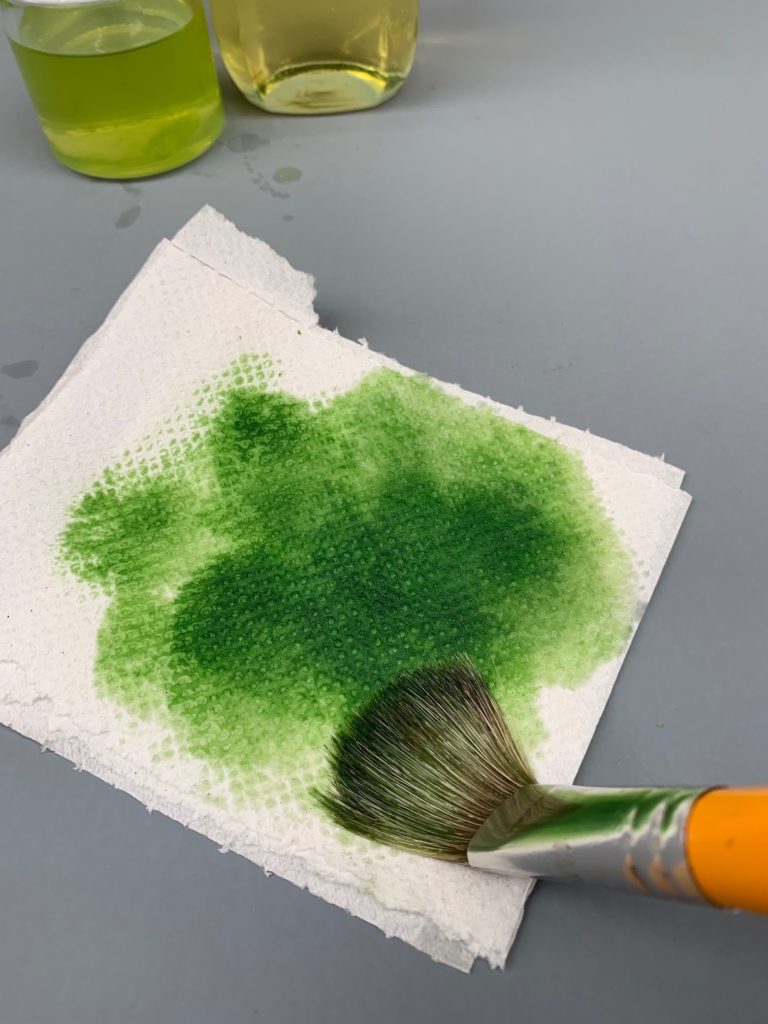
Step 1. Unload any excess paint out of the bristles with a paper towel or painting rag. Get as much paint out of the bristles as possible. Removing paint during this step will make cleaning with oil much easier.
It is not so obvious to use drying oil to remove paint from your tools, just like you wouldn't pour olive oil onto you salad dressing spill to clean it up. But, when it comes to cleaning pigments, oils are incredibly effective. Drying oils are amazing wetting agents, which gives them the ability to effectively surround pigment particles and flood them out of the bristles.
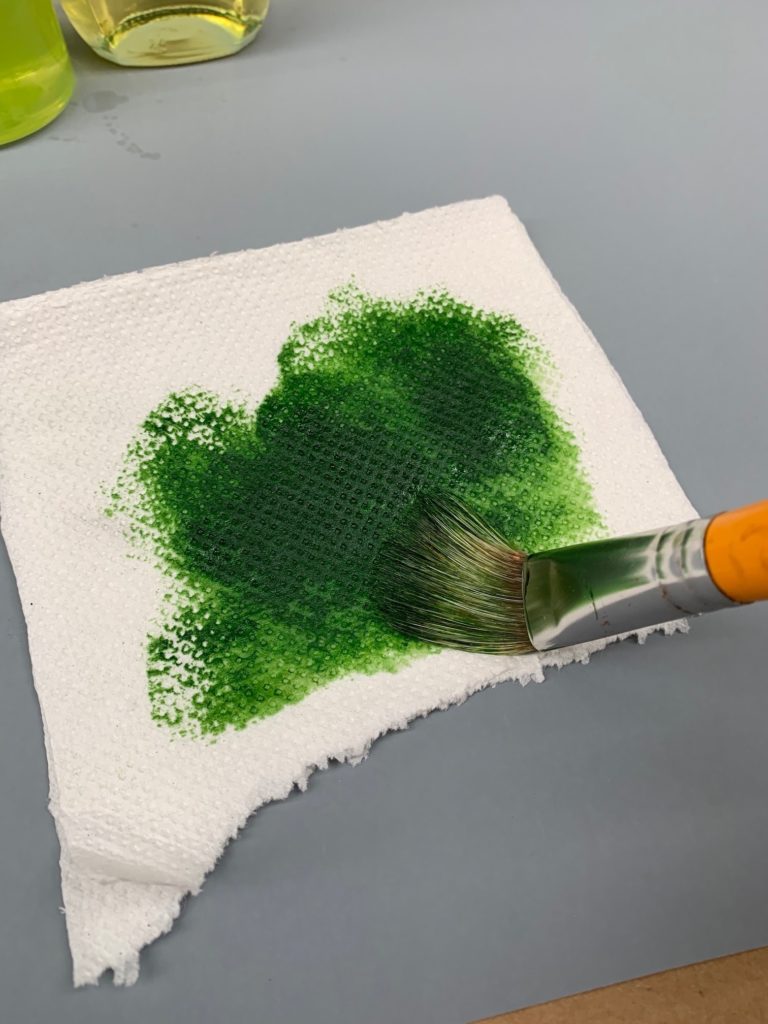
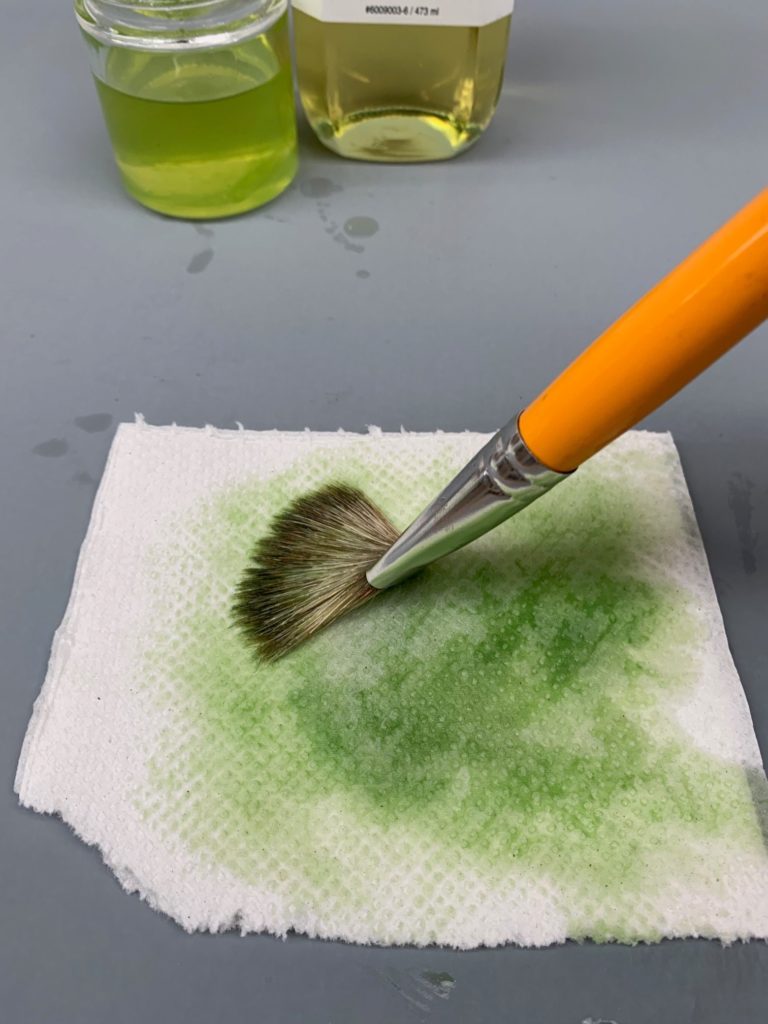
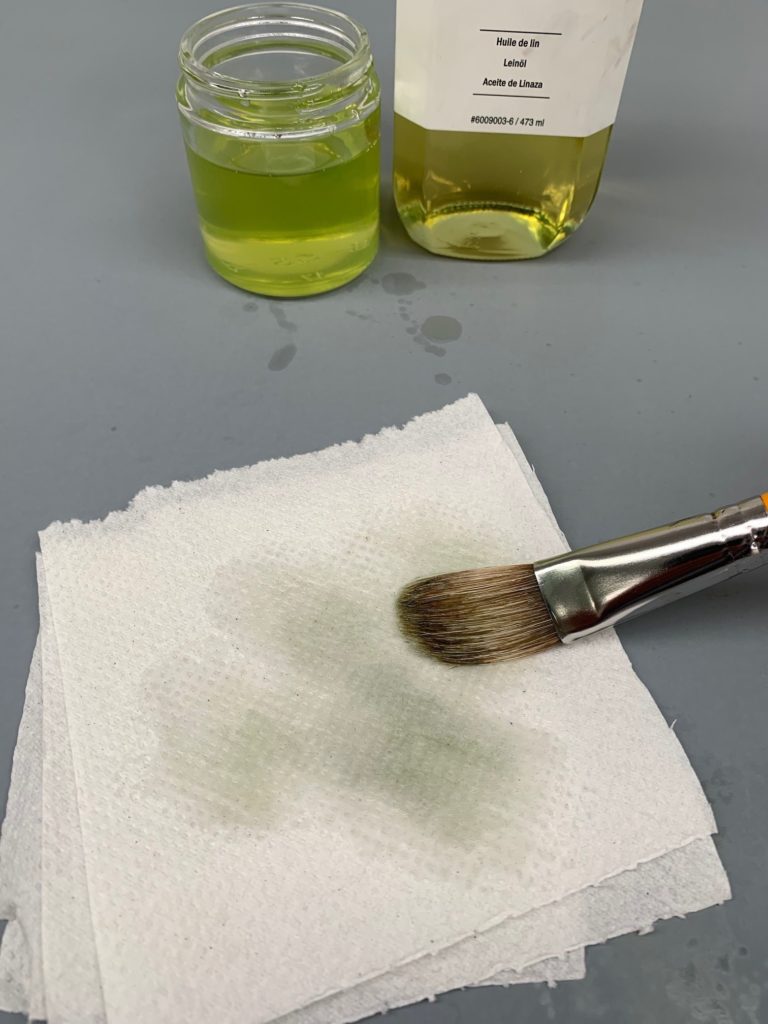
Step 2. Dip the brush into the oil up to the ferrule, entirely coating the bristles. Use a paper towel to work the oil in-between the bristles, releasing and drawing out the color. Squeeze the bristles from the ferrule to the tip or simply wipe the brush back and forth onto a towel. Use a fresh paper towel with each dip. Repeat as many times as needed until the oil starts running clear. Wipe and massage any remaining oil out of the bristles before use. There may be some residual color in the brush, but it should be good for most colors, especially dark or neutral colors. It took three dips and subsequent wiping to remove the Sap Green from the brush in the illustration below.
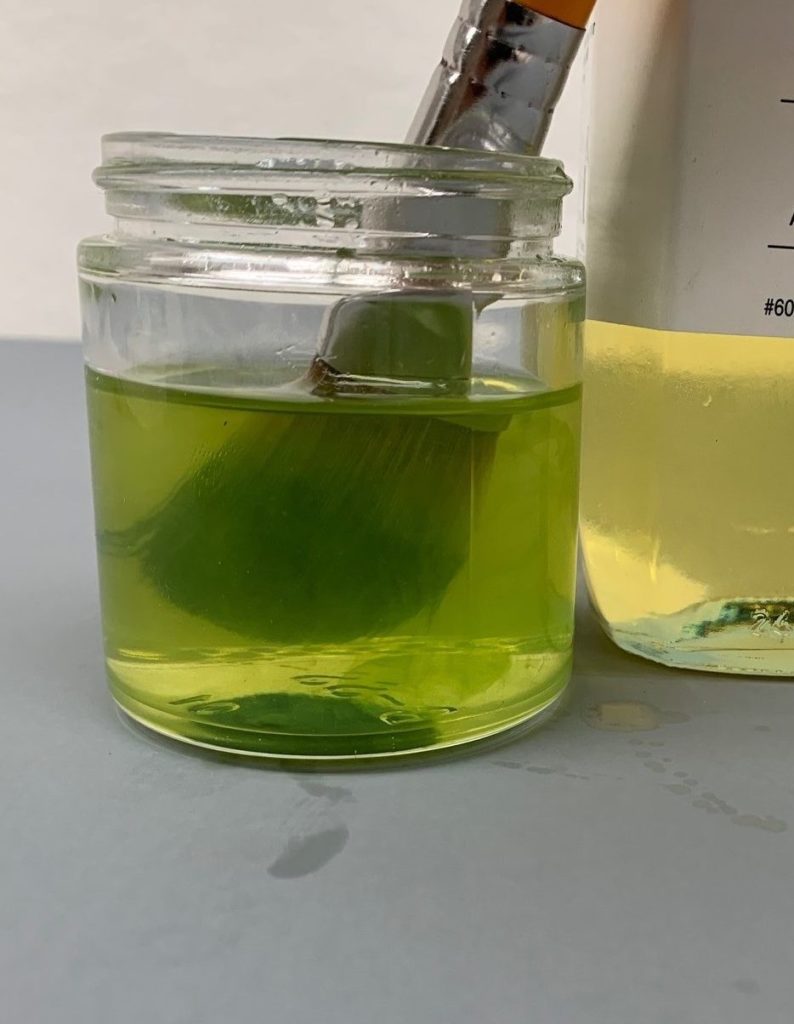
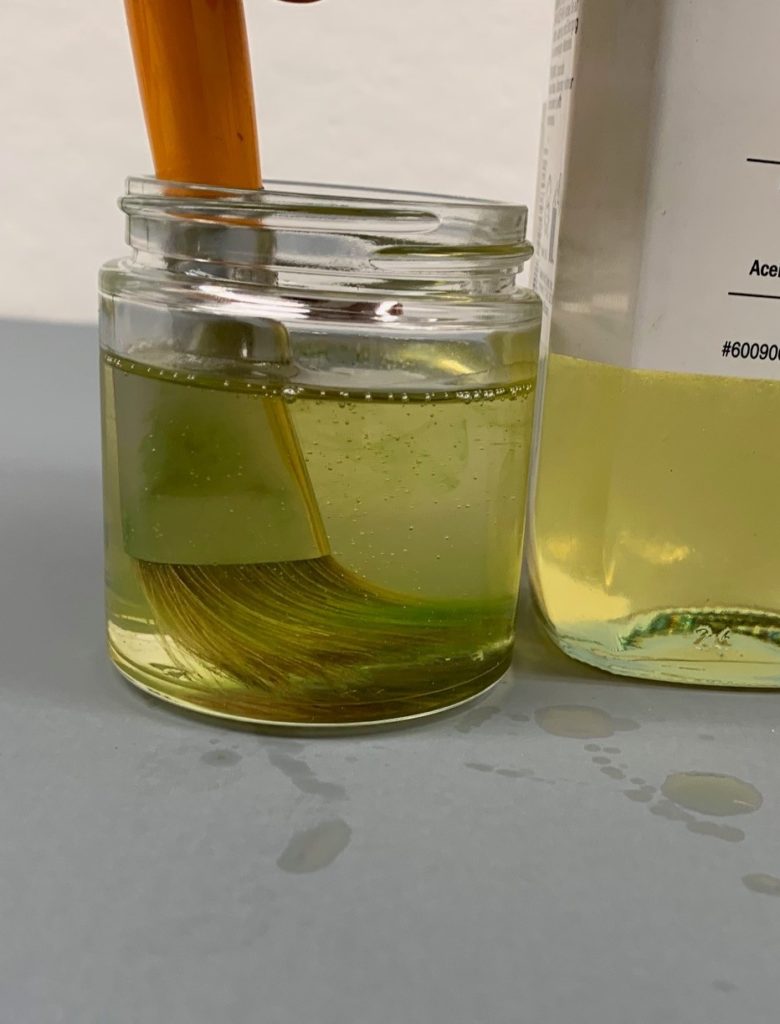
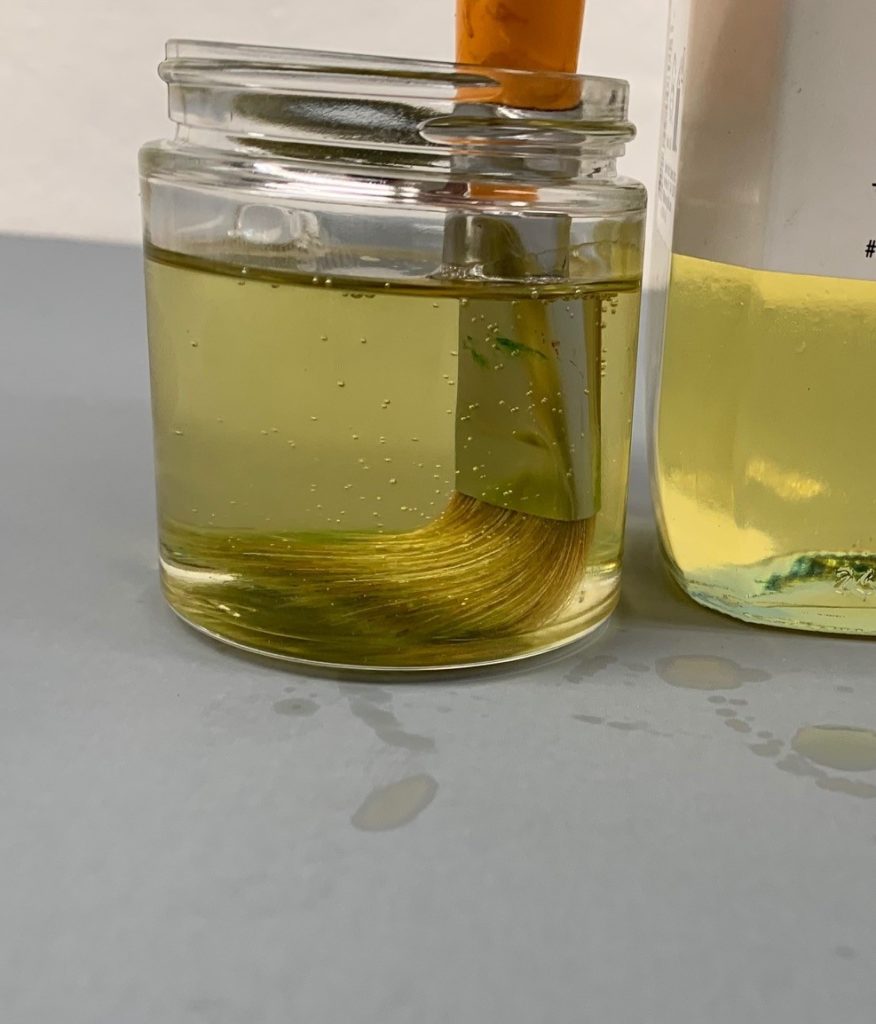
Step 3. If a little residual color is not acceptable and further cleaning is required, dip the brush back into the oil and bounce the bristles against the bottom of the container – switching from one side of the brush to the other. Repeat until all residual color in the brush gets released into the oil. Try not to smash the brush straight down, which can splay the bristles and damage the shape. An alternative option is to use a Silicoil™ cleaning tank filled with oil. When using a Silicoil, gently work the bristles back and forth against the coil to remove any remaining color. Wipe all the oil out of the brush with a fresh paper towel. This brush should now be clean enough to continue working with even the palest colors, including white.
Step 4. At the end of the painting session, brushes need to be cleaned with soap and water. After step 3, simply lather the bristles with brush cleaner or mild soap and massage them at the ferrule to remove all the remaining color and oil. Rinse and repeat until the water runs clear. Shape the bristles and lay out to dry.
Although this process is fairly straight forward, there are a couple things to consider:
Use drying oils such as linseed, safflower, walnut or poppy oil to clean brushes during the painting session. This is because the oil used to clean the brush will inevitably get into the painting and needs to dry like normal paint and mediums to form stable paint layers. It should be fine to use safflower, walnut or poppy oil from the grocery store for cleaning during the painting session, but make sure they do not contain Vitamin E or Tocopherols, which are anti-oxidants and will slow down the drying process. These ingredients should be listed. Reserve non-drying oils such as vegetable, canola or mineral oil for cleaning brushes at the end of the painting session before washing with soap and water.
The oil you use for this process will get dirty. Although pigments will ultimately settle to the bottom of the container, it can take some time. Having several containers filled with oil for cleaning can help with this issue. One option is to use the dirtiest oil for the first rinses, then move to cleaner oil as your brush gets cleaner. Or, have a couple containers where the oil can settle. Gently pour the cleaner oil into a fresh jar before each session. Theoretically, you should be able to keep using the oil without having to discard it. When it gets dirty, simply set it aside and let it settle. If the oil gets too dirty or the container has a lot of accumulated sludge, then pour off any clarified oil and clean out the sludge at the bottom with a paper towel and discard. We recommend wearing gloves for this procedure, as it can be pretty messy.
Cleaning brushes with oil requires patience. This process can take more time than cleaning with solvents. Not only does it take longer for pigment to settle out of the oil (days to weeks), but staining colors will take more time to clean out of the brush with this method than earth colors or colors with low tinting strength. Consider using dedicated brushes for stronger colors or specific color families during painting. These brushes can simply be wiped clean and reused for similar color mixtures so they do not have to be cleaned as often.
Please keep in mind, that oily rags or paper towels are a SPONTANEOUS COMBUSTION HAZARD. Store and dispose of contaminated rags properly. To reduce risk, paper towels or rags should be kept in a covered, metal trash receptacle and fully saturated with water. Remove all oily rags daily from the studio or home in a sealed trash bag.
Admittedly, it is hard to change practices that one has performed for years. The method described above does require some getting used to, but the ability to remove unneeded solvents from your studio is something we think you'll find incredibly valuable. Please let us know how it goes!
How To Clean Paint Brushes Without Turpentine
Source: https://justpaint.org/cleaning-brushes-without-solvents/
Posted by: fordeliablive80.blogspot.com
0 Response to "How To Clean Paint Brushes Without Turpentine"
Post a Comment